8 photography techniques, tips and tricks for taking pictures of anything By Digital Camera March 09, 2018 Improve your photos fast with our massive compilation of the best expert tips


So if you're after ways of mastering landscape photography, taking better portraits, improving your wildlife and macro shots, or just after quick photo-editing tips for Adobe Photoshop CC, Lightroom or Elements, this is the essential guide for you.
We've arranged these photography tips and tricks into camera craft, pro advice and kphoto-editing, so get started and improve your images now.
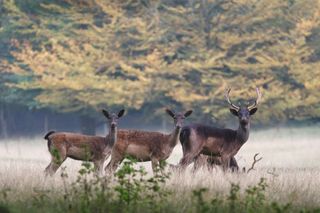
Tip 1. Go eye-to-eye with nature

Take the same approach for portraits of animals and plants as you do for portraits of people. That means getting ‘eye to eye’ with the subject with a relatively long lens and using a reasonably large aperture, such as f/4, to help separate them from busy background details.
Tip 2. Find a frame to shoot through

A framing device can help to funnel a viewer’s attention to the right place in a picture, add context and structure – and mask ‘dead’ areas, too.
Frames can be actual frames, such as shooting through an open door or a window, or implied, such as the branches of a tree. They can also be diffuse – try positioning the camera close to flowers and shooting a subject beyond them to add a soft, colourful frame.
Tip 3. Using flash in daylight

If you find that you’re coming unstuck with your exposures when you’re trying to mix natural light and flash, switch off the flash and set the exposure for the daylight first.
Advertisement
Use Manual mode so that the settings stay locked in on the camera, and base your exposure on the brightest part of the scene. Finally, switch on the flash and use this to brighten up the darker areas of the scene for a balanced result.
Tip 4. Sharp shots without a tripod
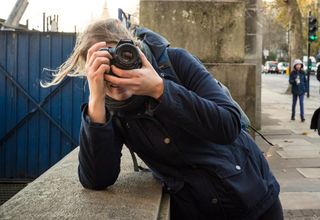
There are times when it isn’t wise to set up a tripod, such as on a bustling city street, and times when you need to stay mobile.
Shutter speed becomes a prime concern in these situations; increasing the ISO, employing shake reduction, firing short bursts of shots, pulling the camera strap taut and bracing yourself against a wall or other available ‘furniture’ can all help.

taut and bracing yourself against a wall or other available ‘furniture’ can all help.
Tip 5. Shooting in a new location
While it’s easy to explore Google Images to get a feel for the photographic potential of a location, if you’re visiting a spot for the first time, it’s worth pausing and getting a sense of place before trying to express it in an image.
It might be tempting to attach your camera to your tripod, but there’s a lot to be said for exploring different viewpoints with a handheld camera to find the right angle and height to shoot from first.
Tip 6. Include odd numbers
Odd number of objects typically give more balanced compositions than even numbers, whether you’re shooting a group portrait, a sporting event or a landscape.
Advertisement
Tip 7. Use dioptre adjustment

Many cameras enable the viewfinder sharpness to be improved using a feature called dipotre adjustment. Keep an eye on the readout in the viewfinder rather than looking at the image as you make any adjustments.
Tip 8. Activate highlight warning

You can set the playback display to flash a warning for highlights that are at risk of being exposed, which is a quick way to check exposure.


Comments